The people of today, be it for residential, commercial, or any other purpose, have developed a vision for what passes as a desirable space to invest in. They want aesthetics and advantages. They expect the property to be energy-efficient, environmentally friendly, durable, long-lasting, and lightweight while strong enough to allow swift project completion without compromising on strength and support.
An AAC Wall is among the many next-generation prefabricated building solutions. As a prefabricated building solution, this walling solution appears as a solution to the hurdles and growing desires in the developing world. These include:
- Reducing slower project completion
- Promising reliable strength and support
- A sustainable solution that reduces harmful emissions
- Ensuring profit maximisation by optimising costs
- Being resistant to environmental threats
- Ensuring safety on the site
- Easily adaptable building materials that do not require extensive learning
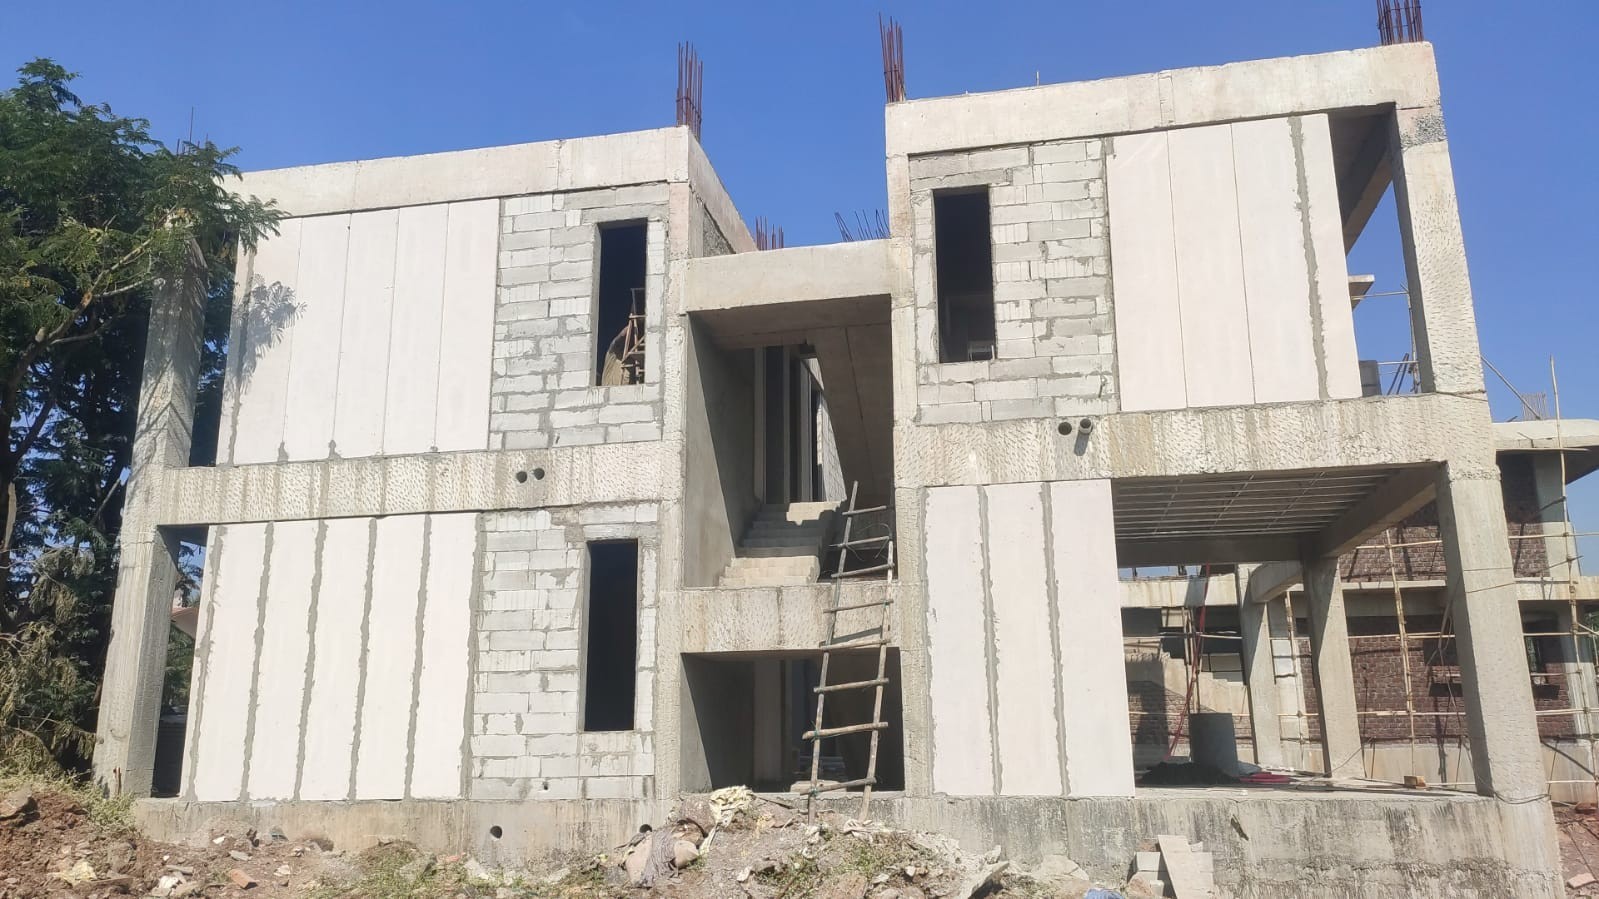
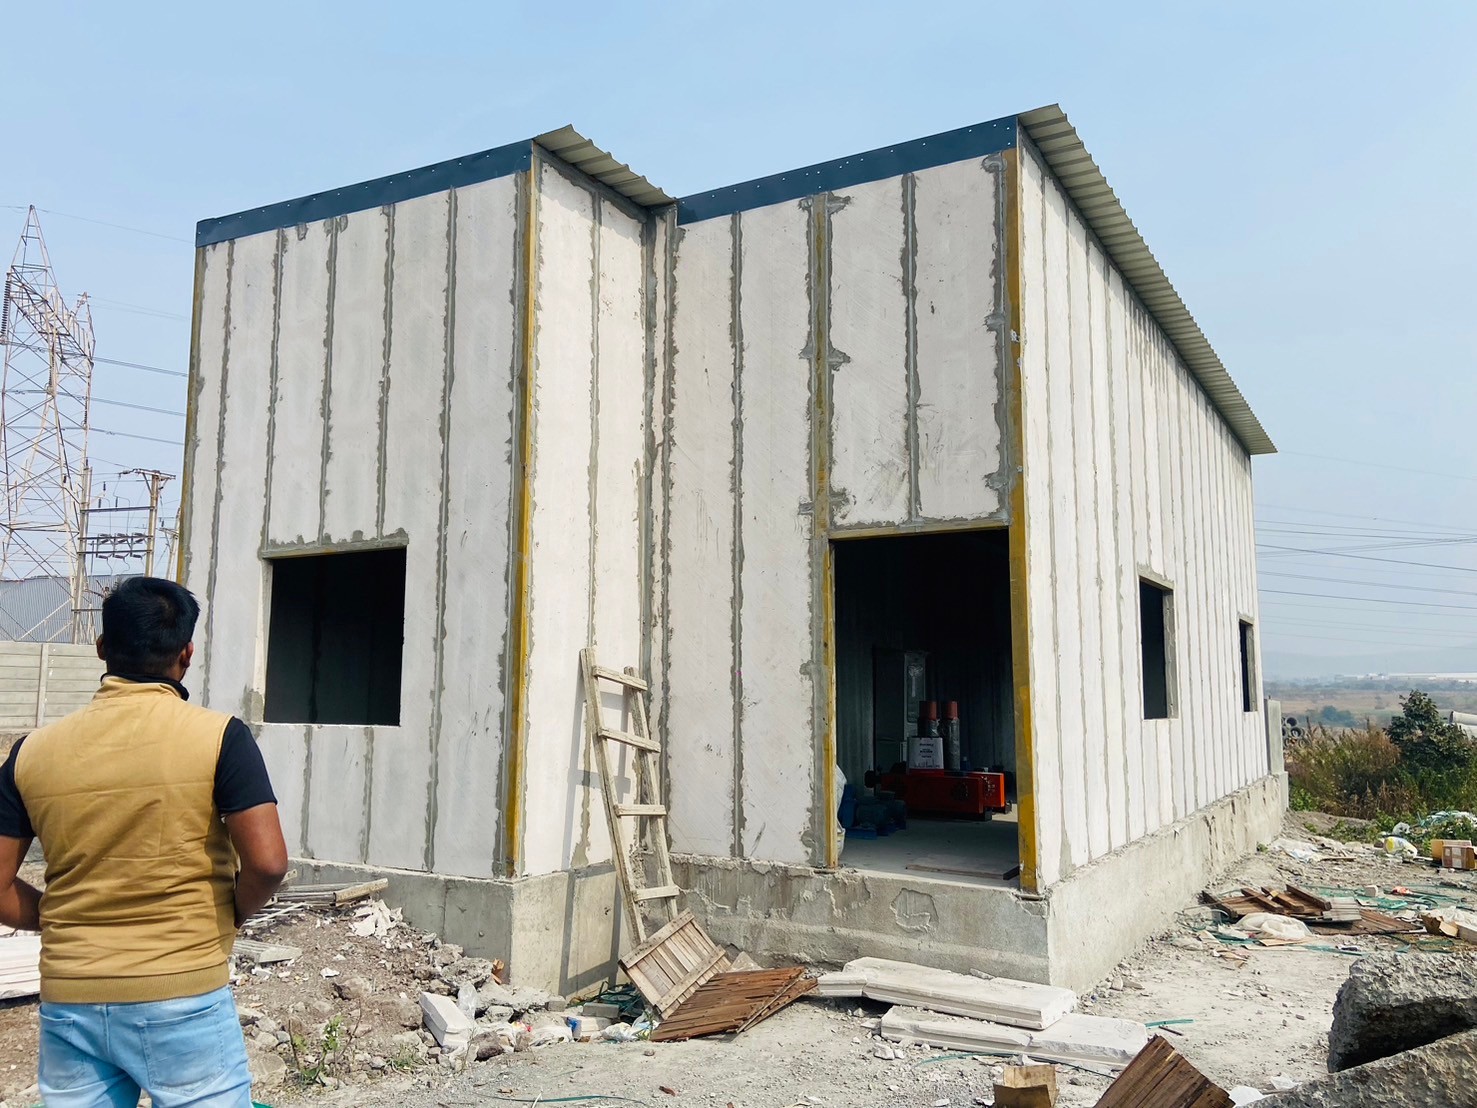
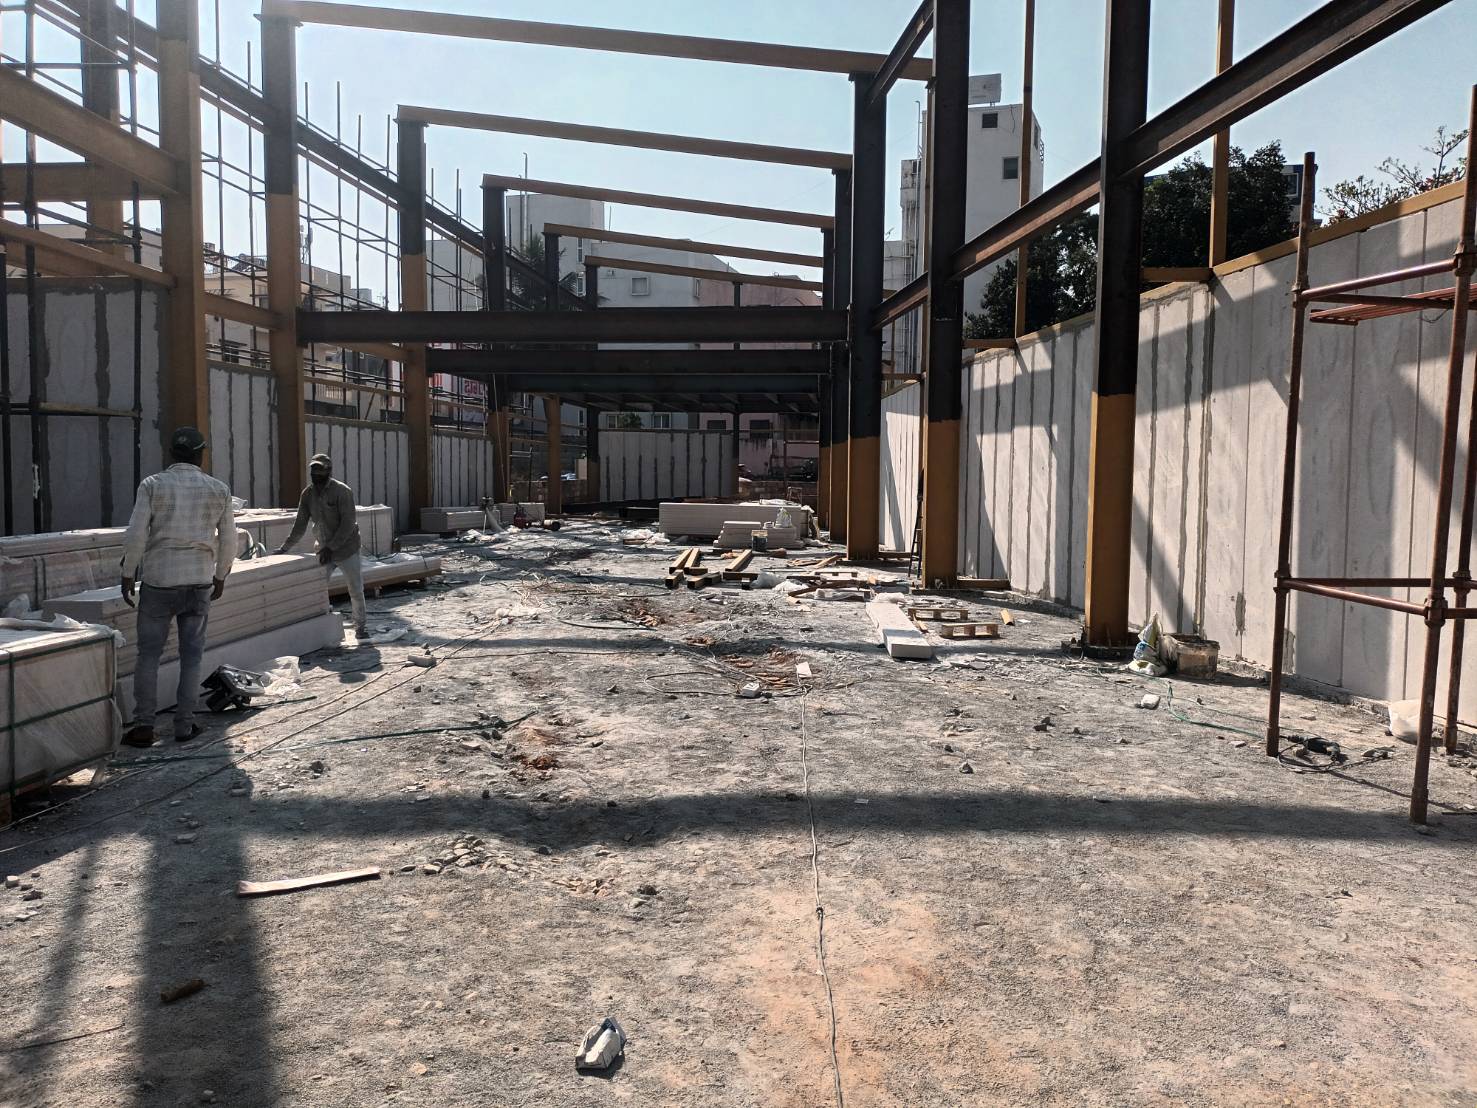
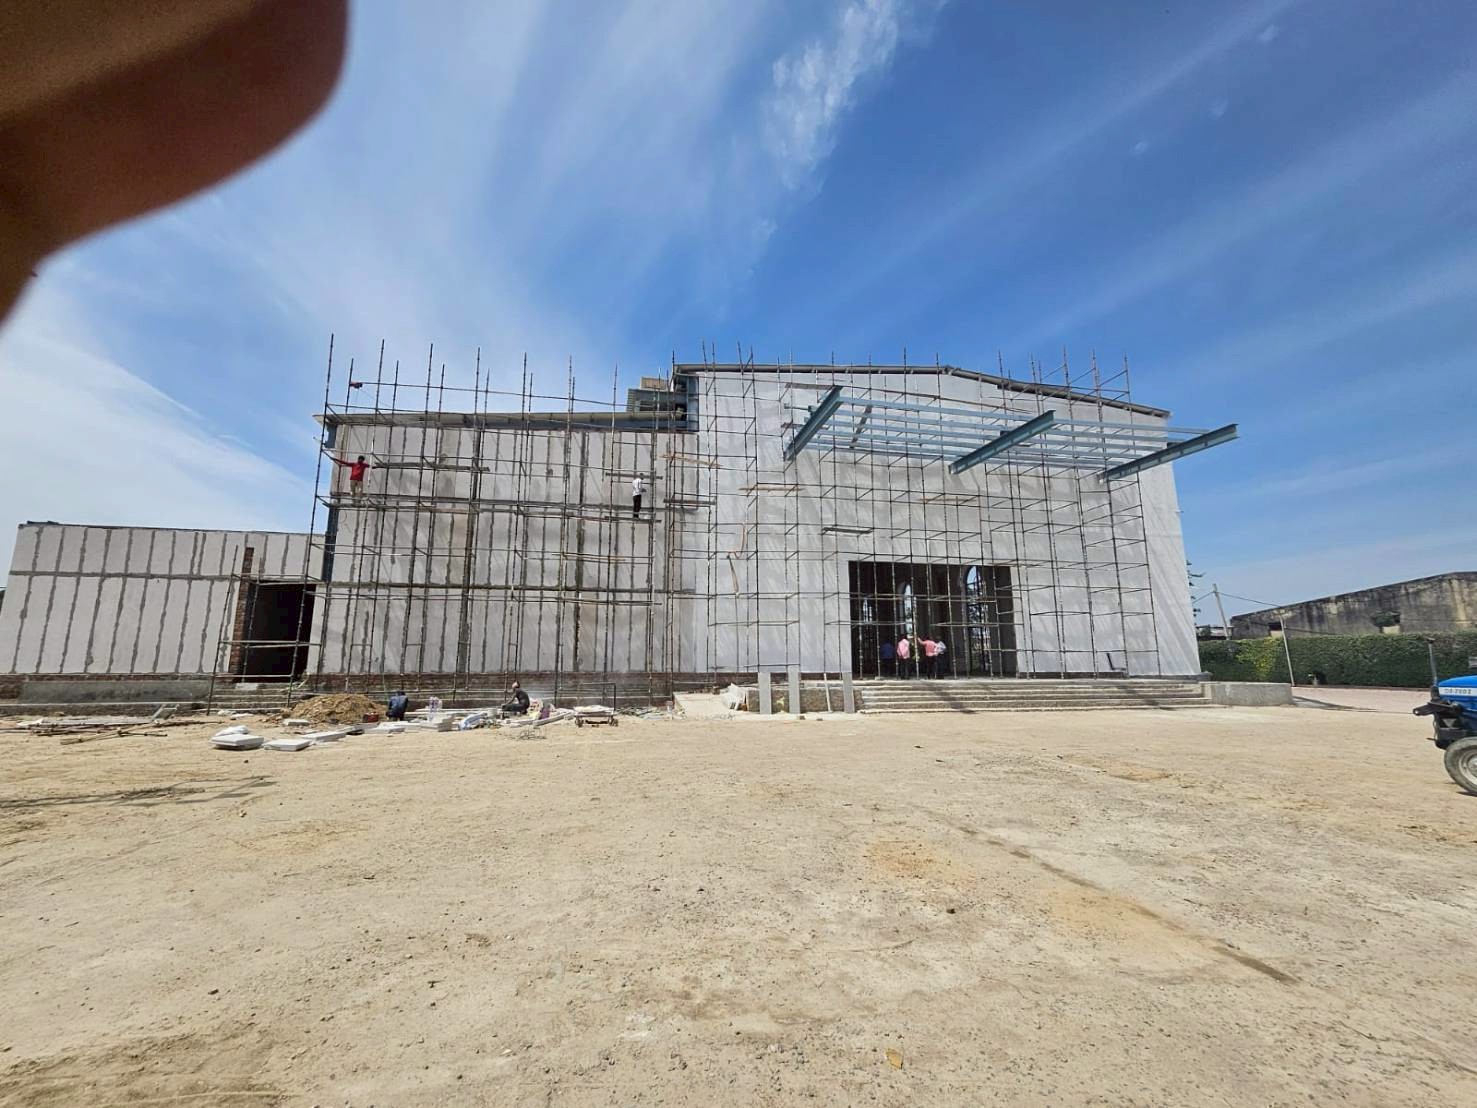
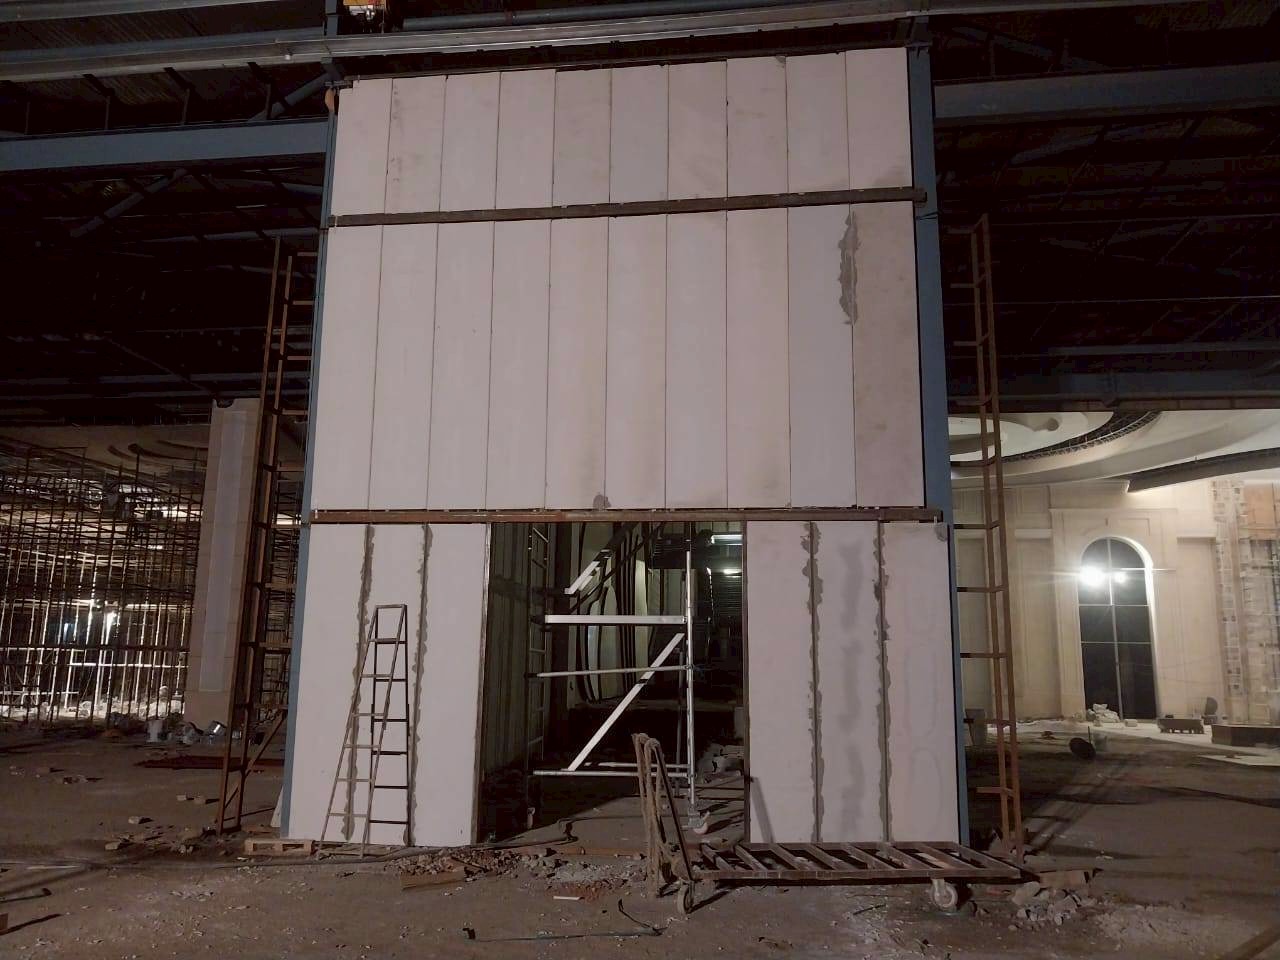
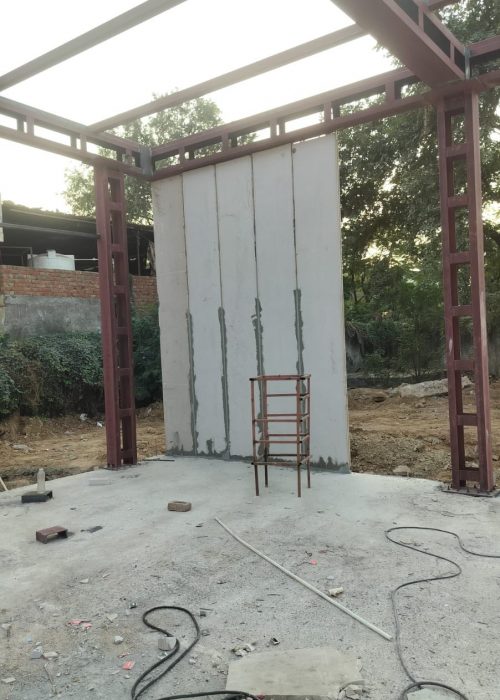
ZMARTBUILD WALL By NXTBLOC, an AAC wall, brings a new era of world-class walling solutions by blending innovation with sustainability.
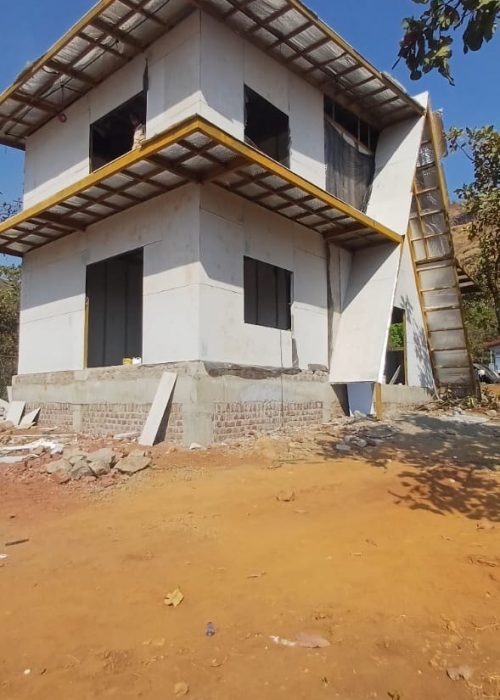
This lightweight, steel-reinforced and internal & external non-load-bearing wall offers faster completion & a long-lasting solution. From production to performance, this is an eco-friendly & energy-efficient product, conserving natural resources without compromising on its responsibility.
Be it the construction of homes or office spaces, ZMARTBUILD WALL By NXTBLOC, from extensions to alterations, helps build strong walls faster and achieve better efficiency over operations.
Successfully installing the ZMARTBUILD WALL By NXTBLOC in any property requires careful consideration. Read the following steps carefully for a worry-free & hassle-free implementation of the ZMARTBUILD WALL By NXTBLOC into your property.
Pre-installation measures:
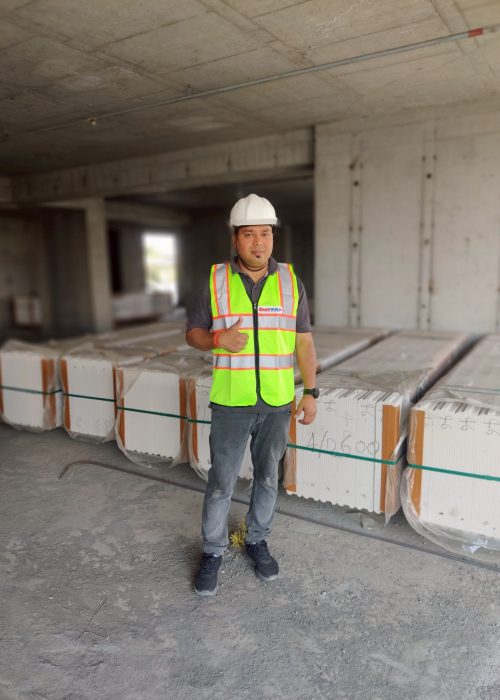
- Check the sizes & quantities of the ZMARTBUILD WALL By NXTBLOC
- Check the construction drawing for the wall layout to install
- Check your tools & equipment
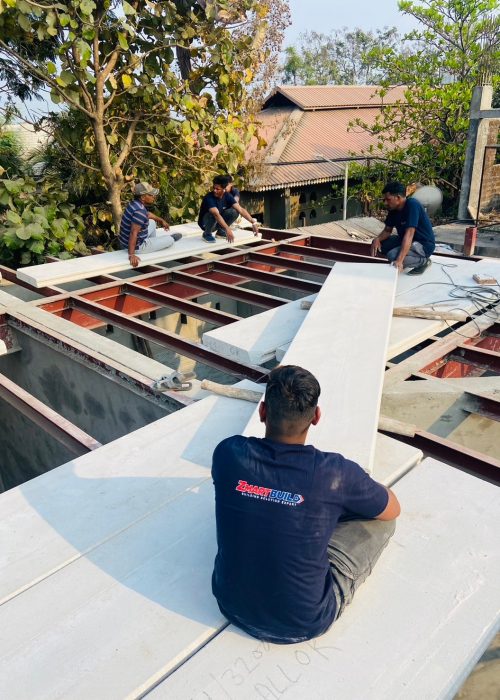
Learn how to install the ZMARTBUILD WALL By NXTBLOC in 14 simple steps:
- Clean & mark the wall alignment by using chalk tape
- Clean the ZMARTBUILD Wall by NXTBLOC & move to the marked point
- Mix thin-bed mortar & apply it to the structure column
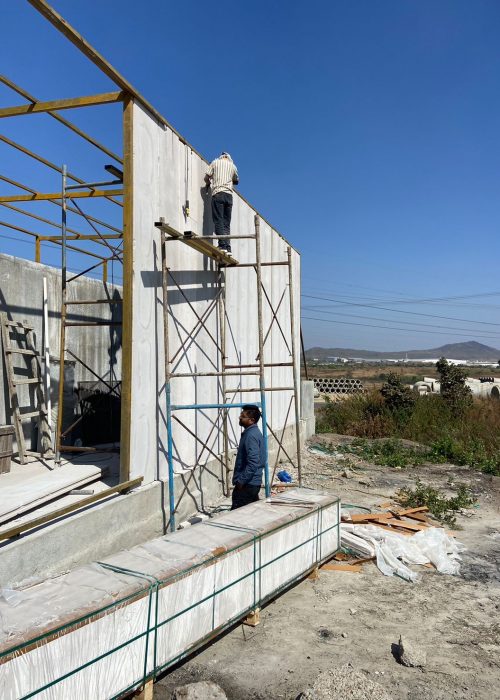
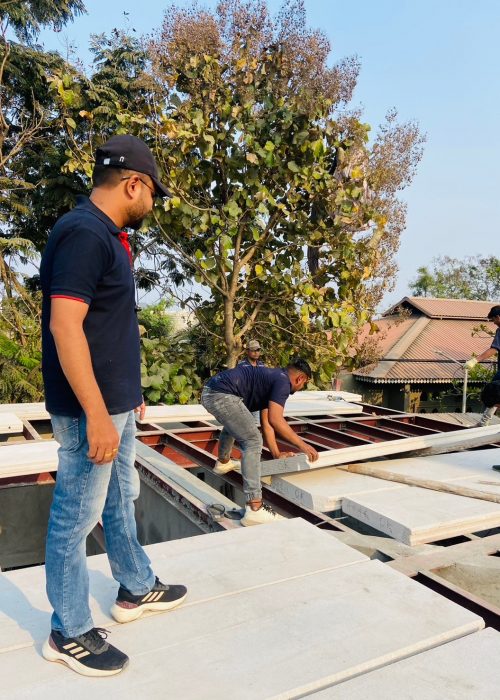
- Lift the wall & push it to attach to the column
- Insert a foam sheet between the floor & the top of the wall
- Use a lever to lift the ZMARTBUILD Wall by NXTBLOC, until the top of the wall reaches the upper floor, and then insert a wooden wedge under the wall
- Fasten the wall to the floor using a steel angle on the upper & lower sides of the wall with a dash fastener and steel screws
- Apply thin-bed mortar to the side of the first wall, then lift the next wall to attach it, and repeat the steps
- Continue to install the walls until the gap can be closed with the end wall
- Measure the gap & cut the last wall for it to fit in the leftover space and install it
- Fill the gap under the walls with sand-cement mortar
- Fill the gaps between walls with thin-bed mortar, then rub with sandpaper #400, after the mortar dries
- Finish the surface with a skim coat, then rub with sandpaper #200, for the internal walls
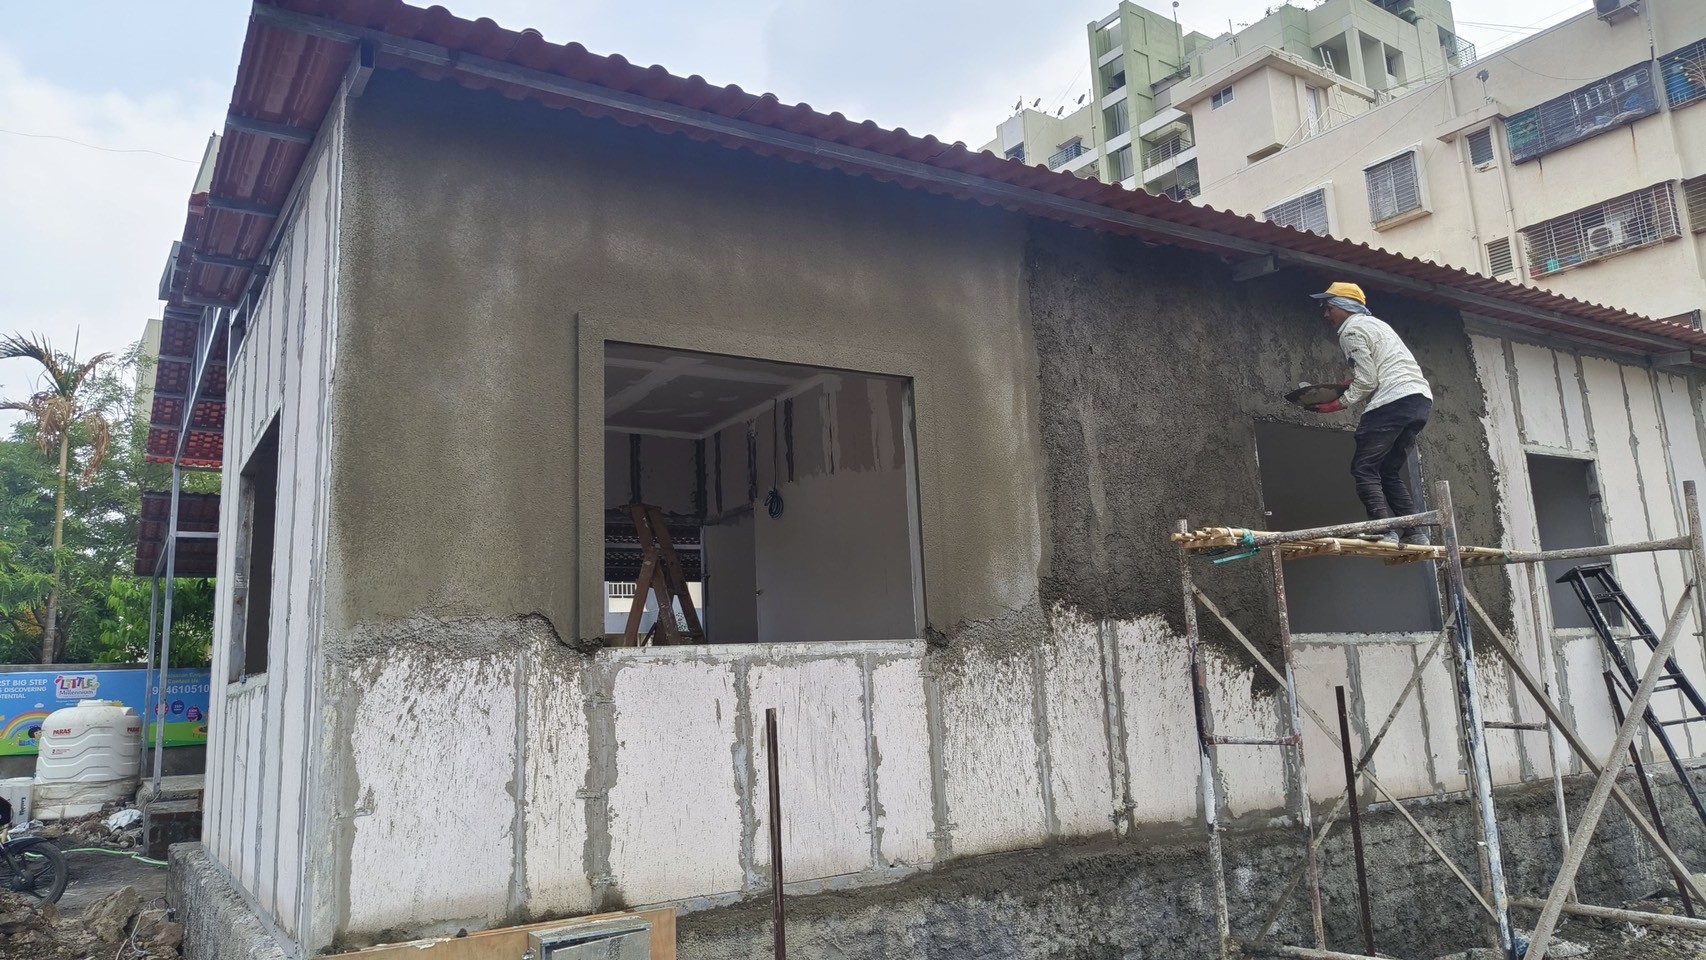
- Finish the surface with AAC plastering mortar for the exterior walls
- Your ZMARTBUILD Wall by NXTBLOC installation is complete
Stay connected to learn more about our other future-ready flooring-to-roofing solutions.